Desc

Random mixtures of sugar and colors to entice your taste buds!

Have a "How to" question? Email them to shivssweetdelights@gmail.com

Thursday, April 12, 2012

So whats's your question?

In the recent past, I have been receiving questions from my friends about baking techniques. I try to answer them from my own learning. But some of them have been new to me. I have started browsing more and researching on those topics thereby increasing my knowledge too. Thanks to all those who trust my experience in baking!


So for all those intrigued with baking, decorations and anything related to cakes, feel free to post them here on SWEET DELIGHTS or email them to me @ shivssweetdelights@gmail.com

I will try my best to answer your questions either thru researching online or thru the successes and failures in my experience.

Lets learn together!


Wednesday, April 11, 2012

How To : Bake a Soft and Moist Yellow Cake

For a baker, the most difficult recipe to achieve is the basic yellow cake. Any beginner would know the difficulty in NOT making a dry cake that tastes something like corn bread. I had almost abandoned the idea of making yellow cakes at home until I found this cake recipe which I modified as per my needs.This turned out a lot better than the yellow cake that I used to make in my initial days of baking!

Moist Yellow Cake

Ingredients:
1 cup of unsalted butter
2 cups of 10x finely ground sugar
4 eggs
3 cups of all purpose flour
1 cup of milk
1 teaspoon pure vanilla extract
1/2 teaspoon of (no color) butter extract

Procedure:
  1. Preheat oven to 350 degrees.
  2. Grease and flour two 8 inch cake pans.
  3. Cream butter until it becomes super soft.
  4. Add sugar and continue to cream the mixture.
  5. Add the eggs and beat all the ingredients until they are thoroughly mixed.
  6. Add the all purpose flour and milk (alternating to creamed mixture), beginning and ending with flour.
  7. Add vanilla and butter flavoring to mix.
  8. Divide batter equally and pour into the cake pans.
  9. Bake for 25 – 30 minutes until a toothpick comes out clean when inserted.
  10. Cool in pans for 5 – 10 minutes.
Tips:
  • After pouring the batter into the pans, carefully drop the pans flat onto counter several times to ensure release of any air bubbles. This will help you have a more level cake.   
  • Once the cake is cooled in the pan, remove and immediately wrap each layer in plastic wrap to seal in moisture. Cool completely on wire racks. 
  • Do not use salted butter which gives the taste of corn bread to the cake.
  • More butter makes the cake ultra soft but with additional calories.
  • Adding 1/3 of a cup of vegetable oil also helps.
      Additional tip for moistness:
  • Combine 1 cup of sugar and 2 cups of water.
  • Bring to boil and boil for approximately 3 minutes. Let cool.
  • Pour liquid into a spray bottle.
  • Unwrap first layer and if needed, level off the top of your cake.
  • Place layer onto your dish. Take a straw and poke holes into the layer. Using your spray bottle, spray top of layer several times; enough to give it a little moisture. Be careful – Do not add too much.
  • Add a layer of desired frosting to your bottom layer. Repeat on second and third layers.
  • Frost the sides.
Do try this and let me know how it turned. If it indeed turned out MOIST!


Tuesday, April 10, 2012

Choco cake balls with leftover cake.

Saturday evening was a busy time with brother's birthday coming up the next day. I was all set to make the roll cake with ice cream filling. But that ultimately turned out to be a whole mess with the roll totally crumbling. The crumbled cake was that which was left over. (A post on "how to make a roll cake" coming soon.) The taste was exactly what I had intended it to be, but not the crumbles! :(

So now, all I had was excess of cake leftovers and cake ganache left over from the previous cake. I crumbled the moist chocolate cake further more and started making cake balls. The cake balls placed on wax paper was left in the freezer for an hour or so. Then these cake balls were dipped in the chocolate ganache and left to freeze for another hour. And so the cake mess turned out to be tasty cake balls.


Tip: Additional decoration done using leftover buttercream icing.


Saturday, April 7, 2012

Spring Time @ Sweet Delights!

Sneak Preview! One of many more to come! 

Gerbera Daisy


Thursday, April 5, 2012

Tip of the Week - Open star Tips

For a cake decorator, one of the most important tools is the icing tip that creates art on the delicious cake. But having so many tips and remembering the designs each one carves is a daunting task. Atleast for people like me!

The star tip is one of my favourite ones. #18 is one tip that I use often on my cakes. I like the pattern and the variations that it makes.

Tip of the week:
#13, #14, #15, #16, #17, #18, #19, #20, #21, #22, #32, #199, #362, #363, #364, #172, #2110, #4B, #6B, #8B

Here are few of the tips that I own that can be used for a star pattern in different sizes.


And below are some of the patterns made using star tips.

Star

Shell

Crown Border

Reverse Shell

Fleur de Lis

Rope

Rosette

E-Motion

C-Motion

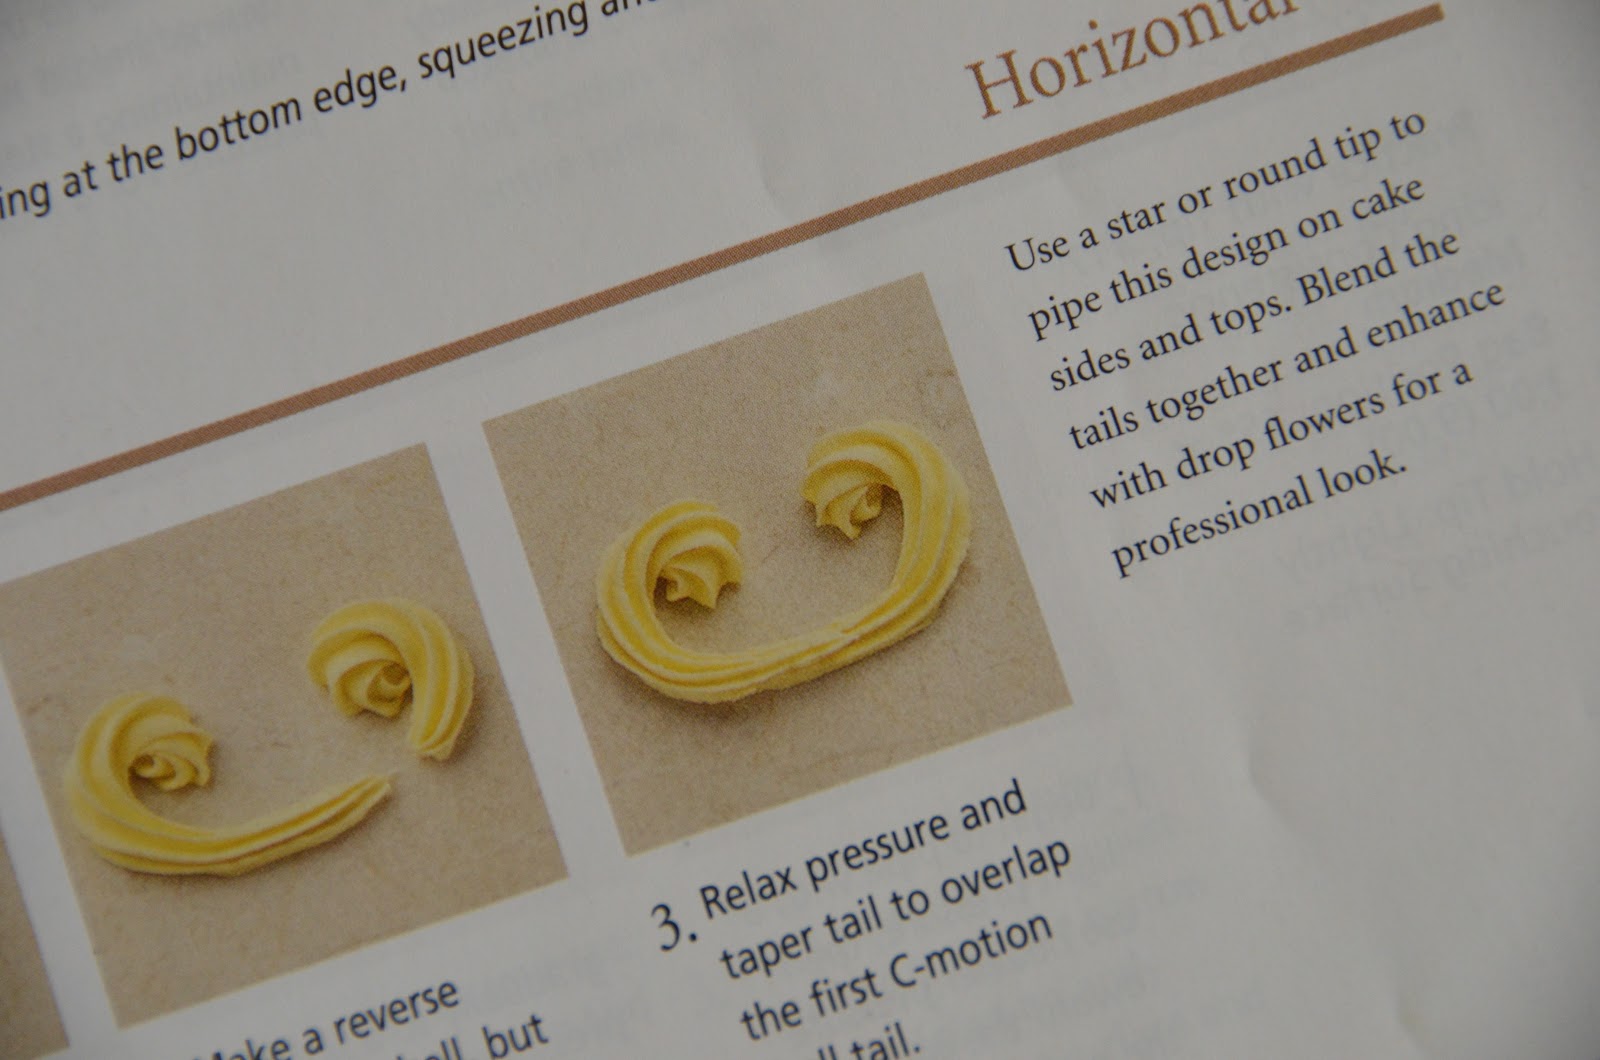
Horizontal - C

Pattern Press

Zigzag

Zigzag Puff

Zigzag garland

Flute


Hope you discover more new star patterns! Have fun!


Related Posts Plugin for WordPress, Blogger...